If you are a business owner, accountant, or finance professional, chances are you use Tally for your accounting. And if you use Tally, you know the struggle of printing cheques.
Handwriting cheques is slow. It causes errors. And it just doesn't look professional.
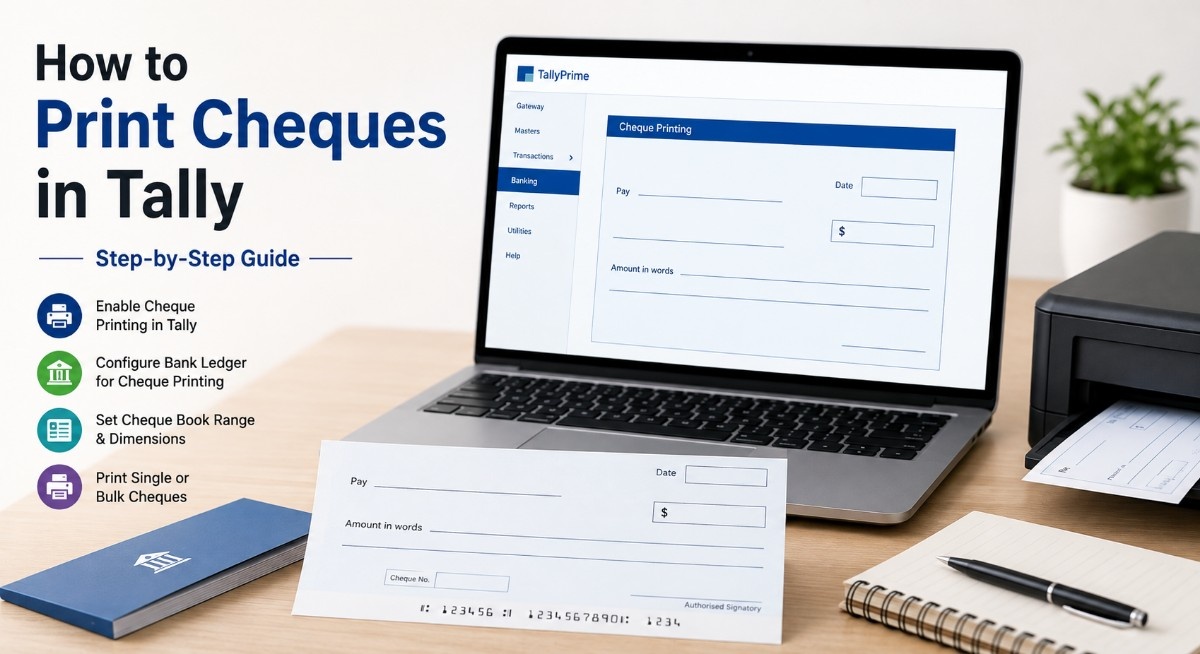
But here is the good news. Tally has a built-in cheque printing feature that can save you hours every month. Once you set it up correctly, you can print single cheques or even bulk cheques for payroll, vendor payments, and expenses in just a few clicks.
The catch? The setup can be confusing. Bank configurations, cheque dimensions, and orientation settings — it is easy to get lost. Especially when you have multiple bank accounts with different cheque formats.
In this guide, I will walk you through exactly how to print cheques in Tally, step by step. No technical jargon. Just simple, actionable instructions.
What You Will Need Before You Start
Before we jump into the steps, make sure you have these things ready:
- Tally software installed (TallyPrime or Tally.ERP 9)
- A bank account created in Tally under the group "Bank Accounts"
- Blank cheque leaves from your bank
- A standard printer (any standard printer works; laser printers are recommended for precision)
- Your bank's cheque book range (the starting and ending cheque numbers)
Step 1: Enable Cheque Printing in Tally
The first thing you need to do is enable the cheque printing feature in Tally. This is a one-time setting.
How to do it:
- Open Tally and go to the Main Menu.
- Press F11 (Features) and select Accounting Features.
- Scroll down to the section "Other Features".
- Set "Enable Cheque Printing" to Yes.
Once this is enabled, Tally will show cheque printing options in bank ledgers and vouchers.
Step 2: Configure Your Bank Ledger for Cheque Printing
Now, you need to configure your bank account for cheque printing. This is where you tell Tally about your bank's cheque format and the cheque book range.
How to do it:
- Go to Gateway of Tally > Accounts Info > Ledger > Alter.
- Select your bank ledger (for example, "Business Bank Account" or "Current Account").
- In the Ledger Alteration screen, scroll to the Bank Configuration section.
- Set "Enable Cheque Printing" to Yes.
- Set "Set/Alter Cheque Printing Configuration" to Yes.
Tally will now ask you to select your bank from a list. This is crucial. When you select your bank, Tally automatically pre-configures the cheque dimensions for that specific bank's cheque format.
Why this matters
Different banks have different cheque layouts. If you pick the right bank, Tally handles the alignment automatically. If your bank is not in the list, you can choose "User Defined" and enter the measurements manually.
Step 3: Set the Cheque Book Range
This step ensures Tally knows which cheque numbers are available.
Under Bank Configuration, enable "Set/Alter range for Cheque Books".
In the Cheque Book Management screen, enter:
- From Number – the first cheque number in your book
- To Number – the last cheque number in your book
- Name of Cheque Book – optional, for your reference
Tally will automatically calculate the number of cheques available.
Step 4: Configure Cheque Printing Dimensions
Once you select your bank, Tally shows the Cheque Format Selection screen. Choose the format that matches your cheque leaf.
After selecting the format, Tally displays the Cheque Dimensions screen.
You can:
- Use predefined dimensions — Tally auto-fills everything based on the bank you selected.
- Use user-defined dimensions—enter measurements manually if your bank is not listed or if the default alignment is off.
Pro tip: Print a sample cheque on plain paper first. Hold it against your blank cheque and check alignment. If something is off, you can adjust the dimensions here.
You can also configure:
- Horizontal or vertical orientation – this depends on how your printer feeds paper.
- Print date or leave it blank – useful for post-dated cheques or approval workflows.
Step 5: Print Cheques from Tally
Now that everything is configured, let us print some cheques.
Tally offers two ways to print cheques.
Option A: Print from Payment Voucher (Single Cheque)
Use this when you need to print one cheque for a specific payment.
Steps:
- Go to Gateway of Tally > Voucher Entry > F5: Payment.
- Debit the party ledger (the person or company you are paying).
- Credit your bank account (the one you configured for cheque printing).
- In the Bank Allocation screen, enter:
- Instrument No. – the cheque number
- Instrument Date – date on the cheque
- Cross-Instrument Using – usually "A/c Payee" by default
- Save the voucher.
- Tally will automatically show the cheque printing screen.
- Press Enter to print the cheque.
Option B: Print from Banking Menu (Bulk Cheques)
Use this when you have multiple pending payments. This is a massive time-saver for payroll, rent, and vendor payments.
Steps:
- Go to Gateway of Tally > Banking > Cheque Printing.
- Select the bank account from the list.
- Tally shows all pending cheques for that bank.
- Use the Spacebar to select the cheques you want to print.
- Press Ctrl + P or click Print.
- Set the option "Print Cheque" to Yes.
Tally will confirm each cheque before printing. This gives you a chance to check alignment one more time.
Common Issues and How to Fix Them
| Problem | Solution |
|---|---|
| "Bank not configured for cheque printing" | Go to ledger alteration and enable cheque printing. |
| Alignment is off. | Adjust dimensions in cheque configuration or use F12 Configure during print to shift top/left edges. |
| Printer not printing correctly | Select the correct printer and paper size (A4) in print settings. |
| Cheque printing option not visible | Ensure "Enable Cheque Printing" is set to Yes in F11 Accounting Features. |
| Date not printing | Check the "Print Date" setting in F12 Configure during print. |
| Cheque prints upside down | Adjust orientation in cheque configuration or printer settings. |
Let me be honest.
Tally's cheque printing works, but it is not perfect. You have to:
- Set up every bank separately.
- Adjust dimensions manually for each bank.
- Deal with alignment issues every time you change printers.
- Make sure the cheque book range is always updated.
- Troubleshoot configuration when something breaks.
And if you have multiple bank accounts? The setup becomes a nightmare.
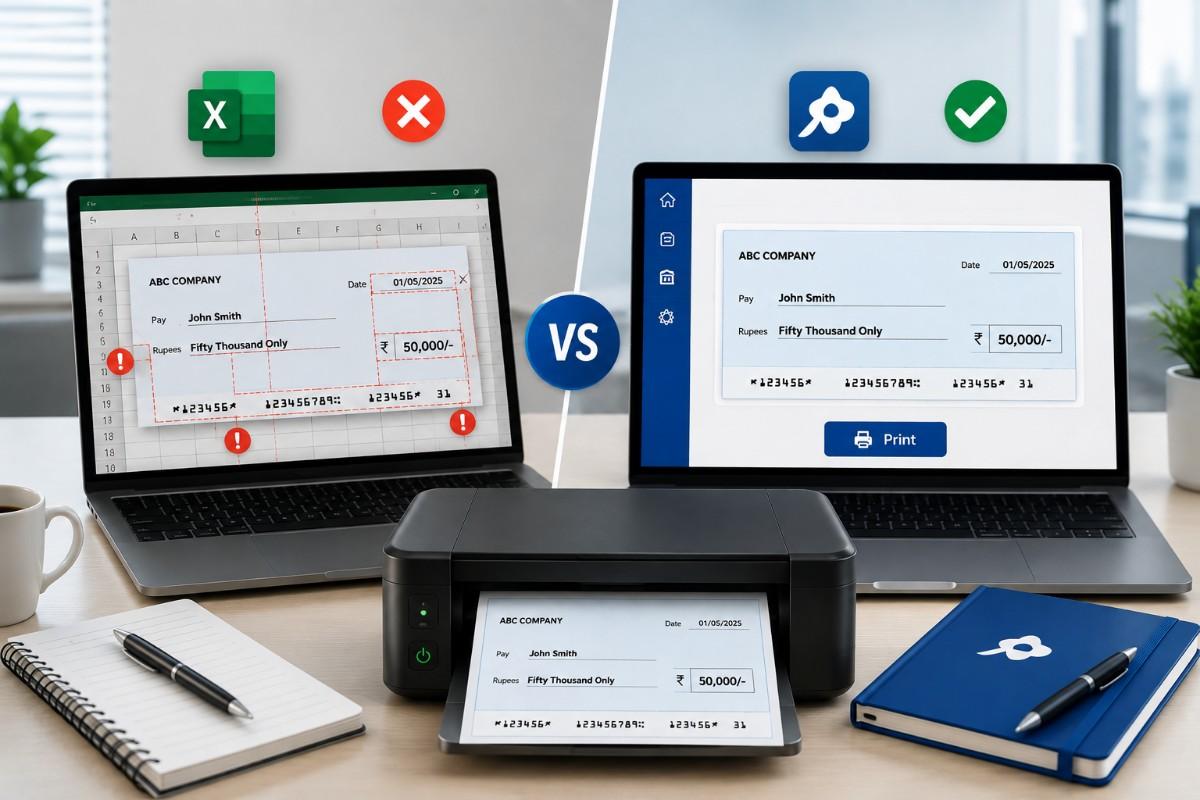
That is where Cheqaat comes in. Cheqaat is a dedicated cheque- printing software that works outside Tally. You do not need to configure anything. Just select your bank, enter the details, and print. No alignment issues. No per-bank setup.
Cheqaat is:
- Bank-agnostic – works with every bank's cheque format.
- Offline and secure – your data never leaves your device.
- Batch printing ready – print multiple cheques in seconds.
- Zero configuration – just download, install, and print.
Final Thoughts
Printing cheques from Tally is a powerful feature, but it requires setup. If you have the time and patience to configure each bank, it will save you hours of manual work.
But if you want a simpler solution, Cheqaat is designed for businesses that do not want to deal with Tally's complex configuration.
Stop struggling with Tally's cheque settings. Start printing with Cheqaat.
Download Cheqaat for free today and print cheques in Tally effortlessly in under 60 seconds.
Built by TROJAN IT SOLUTION PVT LTD