If you are a business owner or accountant, you already know QuickBooks is a lifesaver for managing finances. But when it comes to printing cheques, things can get tricky. QuickBooks has a built-in cheque printing feature, but the setup can be confusing.
In this guide, I will walk you through exactly how to print cheques in QuickBooks, step by step. No technical jargon. Just simple, actionable instructions.
What You Will Need Before You Start
Before you begin, make sure you have these things ready:
- QuickBooks Online or Desktop installed – This guide covers both versions.
- Cheque stock – You need pre-printed cheque paper or blank cheque stock compatible with QuickBooks.
- A standard printer – Inkjet or laser both work, but laser printers are recommended.
- Adobe Reader installed – QuickBooks requires Adobe Reader to print cheques properly.
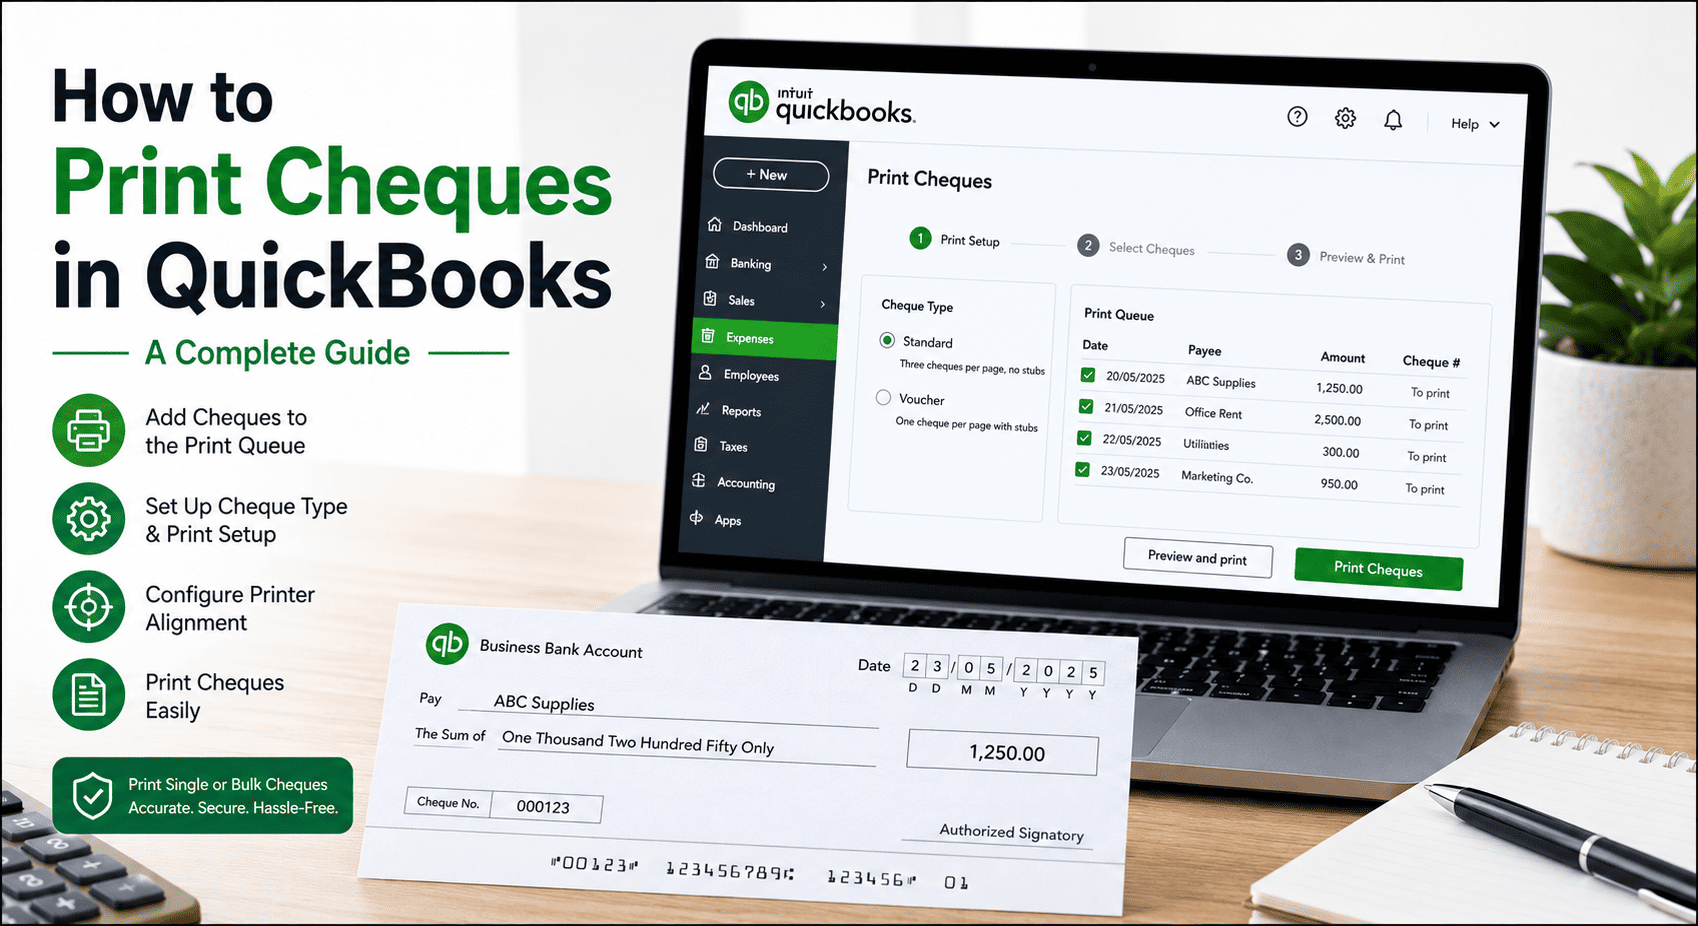
Step 1: Add Cheques to the Print Queue
Before you can print, you need to record your cheques and add them to the print queue.
How to do it in QuickBooks Online:
- Go to All apps → Expenses & Bills → Expense transactions.
- Open the cheque you want to print.
- Select the "Print later" checkbox – this adds it to the print queue and changes the cheque number to "To print".
- Fill in any required data, then select Save and close.
- You will return to the Expenses page.
For multiple cheques:
You can add all cheques to the print queue and print them together. Any cheque marked "Print later" will stay in the queue until you print it.
Step 2: Set Up Your Cheque Type
QuickBooks offers two cheque types:
| Cheque Type | Description |
|---|---|
| Standard | Three cheques per page, no stubs |
| Voucher | One cheque per page with cheque stubs |
How to select your cheque type:
- Select + New or + Create.
- Select Print cheques.
- Select Print setup.
- Choose Standard or Voucher.
- Select Yes, I'm finished with setup.
Step 3: Configure Printer Alignment
This is the most important step. If your cheques print misaligned, they will be rejected by banks.
How to align your cheques:
- Go to + New → Print cheques.
- Select Print setup.
- Select No, continue setup (twice).
- The alignment grid will appear – this allows you to adjust where text prints on the cheque.
- Adjust the grid to align fields with your cheque format.
- Select View Preview and Print Sample.
- Print a sample on plain paper first – this avoids wasting cheque stock.
- Compare the sample with your blank cheque.
- If alignment is off, adjust again and repeat.
Pro Tip
Always use plain paper for test prints. Hold the plain paper against your blank cheque to check alignment before printing on actual stock.
Common Alignment Fixes
| Problem | Fix |
| Text too low | Move the alignment up |
| Text too high | Move the alignment down. |
| Text too far right | Move the alignment left. |
| Text too far left | Move the alignment right. |
If you are using QuickBooks Payroll, you can also access alignment settings through:
Settings → Payroll Settings → Printing → Align cheque
Step 4: Print Cheques from the Print Queue
Now that everything is set up, let us print your cheques.
How to print:
- Go to + New → Print cheques.
- Select the correct bank account from the dropdown menu.
- In the "Starting cheque no." field, enter the number of the first cheque in your printer.
- Select the checkbox for each cheque you want to print.
- Select Preview and print.
- If everything looks correct, select Print.
What if something prints wrong?
If any cheques print incorrectly:
- Select Close → Some cheques need reprinting.
- Select the first cheque number you need to fix.
- Reprint only the misprinted cheques.
After successful printing, cheques are automatically removed from the print queue. Any cheques left unprinted stay in the queue for later.
Common Issues and How to Fix Them
| Problem | Solution |
| Cheque option not visible | Ensure the "Print later" checkbox was selected when creating the cheque. |
| Alignment is off. | Adjust settings in print setup. Use plain paper test prints. |
| Cheques missing from print queue | Verify the correct bank account is selected in the Print Cheques window. |
| Cheques not printing at all | Check the browser is updated, clear the cache, and verify Adobe Reader is installed. |
| Payee name missing on print | Adobe Reader issue – install/update Adobe Reader and set it as the default PDF viewer. |
| Memo line misaligned | Adjust print settings in Adobe Acrobat, or fine-tune alignment in QuickBooks. |
Quick Tip
The QuickBooks Team recommends installing the latest version of Adobe Reader and setting it as your browser's default PDF viewer for proper cheque printing.
Printing on Blank Cheque Stock
QuickBooks Online does not natively support printing on blank cheque stock. However, you can use third-party solutions:
| Solution | Description |
| MultiCHAX | Prints MICR-encoded cheques on blank paper. Auto-populates fields from saved accounts. |
| VersaCheck Gold | Integrates with QuickBooks to print on blank stock. Includes security features. |
| PrintBoss | Allows blank stock printing, user permissions, and signature approvals. |
QuickBooks cheque printing works, but it has limitations:
- You must set up each bank account separately.
- Alignment adjustments are time-consuming.
- No direct support for blank cheque stock.
- Requires Adobe Reader and specific browser settings.
- Printing issues are common (missing text, misalignment).
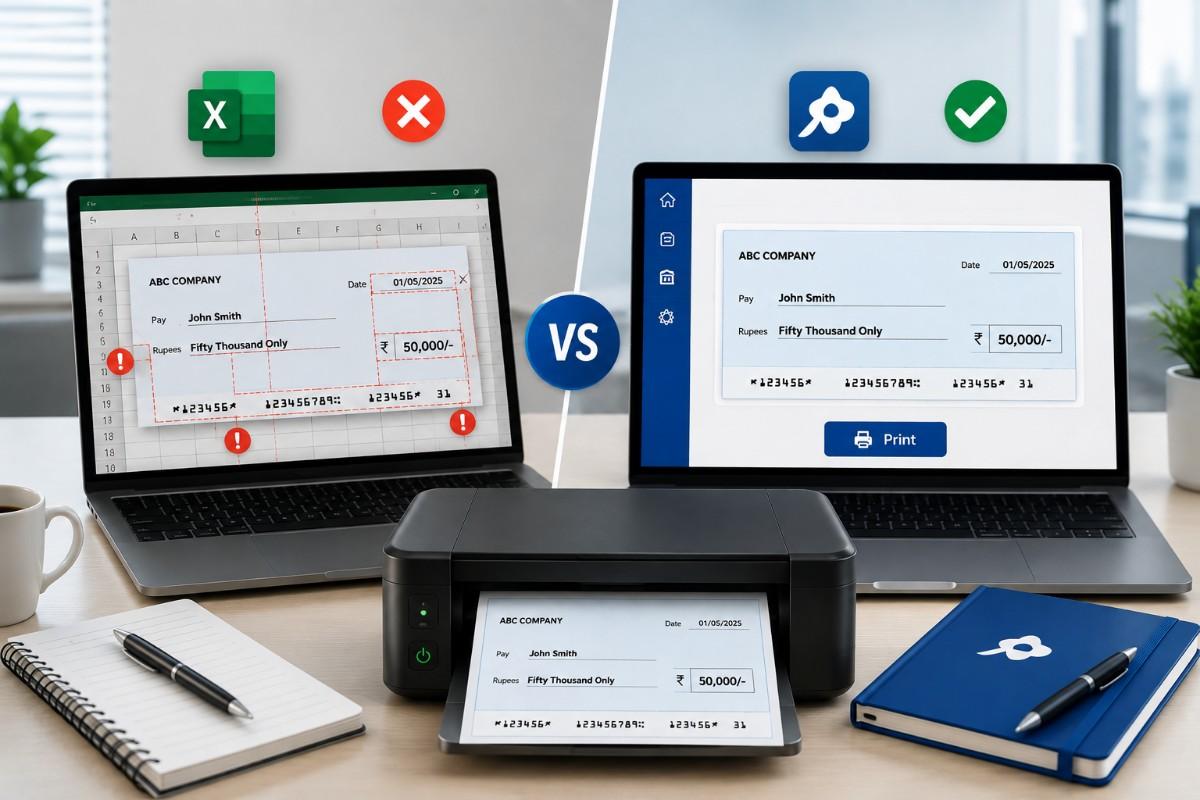
Cheqaat is a dedicated cheque printing software that works alongside QuickBooks. You do not need complex setup.
Cheqaat is:
- Bank-agnostic – works with every bank's cheque format.
- Offline and secure – your data never leaves your device.
- Zero configuration – just download, install, and print.
- Print from anywhere – no Adobe Reader or browser dependencies.
Frequently Asked Questions
Can I print cheques from QuickBooks Online on a standard printer?
Yes. Any standard inkjet or laser printer works. QuickBooks recommends using Adobe Reader for best results.
Why are my QuickBooks cheques printing misaligned?
This is usually a print-setting issue. Use the alignment grid in the print setup and print samples on plain paper first. Adjust until correct.
Can I print on blank cheque stock in QuickBooks?
QuickBooks Online does not natively support blank stock. You will need third-party solutions like MultiCHAX, VersaCheck, or PrintBoss.
What if my cheques don't appear in the print queue?
Make sure the cheque was saved with "Print later" selected. If still missing, verify the correct bank account is selected in the Print Cheques window.
Do I need Adobe Reader to print cheques in QuickBooks?
Yes. QuickBooks requires Adobe Reader for accurate cheque printing. Both standard and voucher cheques need Adobe Reader.
Final Thoughts
Printing cheques in QuickBooks is a powerful feature, but it requires careful setup. If you have the time to configure alignment and manage multiple bank accounts, it can save you manual work.
But if you want a simpler, faster solution, Cheqaat is designed for businesses that do not want to deal with QuickBooks's complex cheque settings.
Stop struggling with QuickBooks cheque alignment. Start printing with Cheqaat.
Download Cheqaat for free today and print your first cheque in under 60 seconds.
Built by TROJAN IT SOLUTION PVT LTD